Proxmox VE Installation
Requirements
Before starting, make sure you have:
- CPU with virtualization support (Intel VT-x / AMD-V)
Tip
You can check this in your BIOS or with lscpu in Linux._
- 8GB+ RAM (16GB recommended)
- SSD/HDD storage
- Bootable USB with the Proxmox ISO
Installation Steps
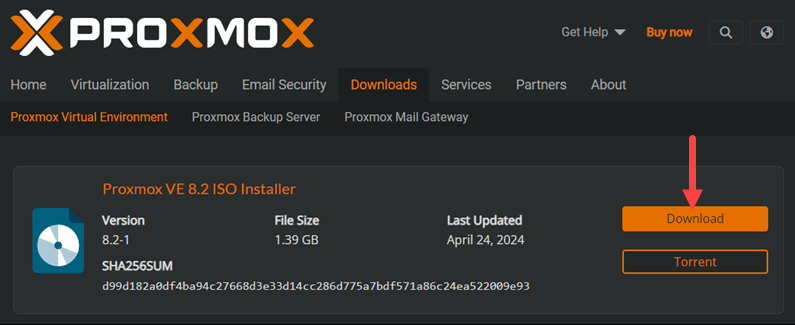
1. Download the Latest ISO
Get the latest Proxmox VE ISO from the official site:
➡️ Proxmox Downloads
2. Create a Bootable USB Drive
You can use Rufus (Windows) or the dd command (Linux/macOS).
Windows (Rufus):
- Insert your USB drive.
- Open Rufus and select the downloaded ISO.
- Click Start.
Linux/macOS (dd command):
Note
Replace /dev/sdX with your USB drive’s device path.
3. Boot and Install Proxmox VE
- Boot your system from the USB drive.
Follow the installation wizard:
- Accept the EULA
- Select the target disk (use ZFS if you want snapshots or have multiple disks)
- Set your country, time zone, and keyboard layout
- Create the root password and enter your email address
- Assign a static IP, hostname (e.g.,
proxmox.local), and gateway
4. Reboot and Access the Web GUI
After installation, reboot your server and open the web interface in your browser:
https://<proxmox-ip>:8006